The invention of automatic door openers meant that the days of heavy, manual garage opening were behind us. While it’s wonderful most of the time, there are still going to be instances where your garage door malfunctions and you’re left without the easy, effortless access we’ve become so accustomed to. In these situations, it’s important to have the ability to troubleshoot the problem at hand and get the garage door opener back in working condition as soon as possible.
In this article, we’re going to discuss errors and relevant LiftMaster garage door opener troubleshooting tactics – LiftMaster being an industry leading manufacturer of openers and parts.
Problems with the LiftMaster Safety Sensors
[su_row] [su_column size=”1/2″ center=”no” class=””]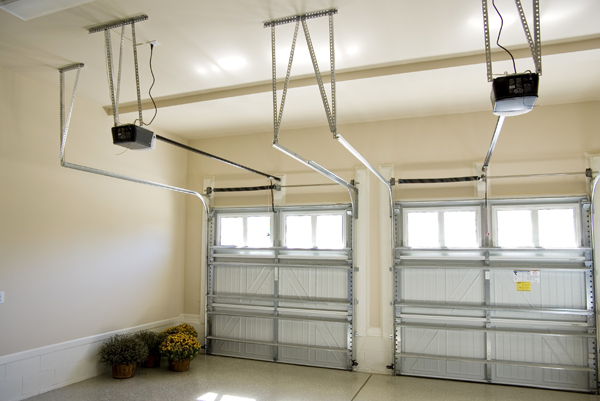
[/su_column] [su_column size=”1/2″ center=”no” class=””]
If you’re experiencing LiftMaster garage door opener problems in which your garage door won’t close, or it travels part-way down and then reverses course, the first thing you should check is your safety sensor. The safety sensors are on either side of each garage door, and they are light-transmission divides designed to ensure that nothing is under the garage door at the time of closing. Although an incredibly helpful safety feature, objects can often obstruct the light transmission and prevent the doors from closing correctly.
If you happen to see that a light is flashing on one of the sensors, that’s an indication that the light sensors are not aligned. You can fix this by loosening one sensor and adjusting it until the light stops flashing. If this doesn’t help, you can also try tightening the garage door track to ensure they are aligned as well.[/su_column] [/su_row]
LiftMaster Close and Open Limits
[su_row] [su_column size=”1/2″ center=”no” class=””]
Most of the motor functions your garage door opener offers can be accessed using either the remote control or the limit dials in the motor housing. If you’re experiencing an issue in which the garage door won’t open or close all the way, you’ll want to either adjust the open and close limits using the remote, or manually turn the limit dials. When taking the manual route, turn the close limit dial counter-clockwise to lengthen the close limit, and turn the open limit dial clockwise to lengthen it.
[/su_column] [su_column size=”1/2″ center=”no” class=””]
[/su_column] [/su_row]
LiftMaster Remote Won’t Work
[su_row] [su_column size=”1/2″ center=”no” class=””]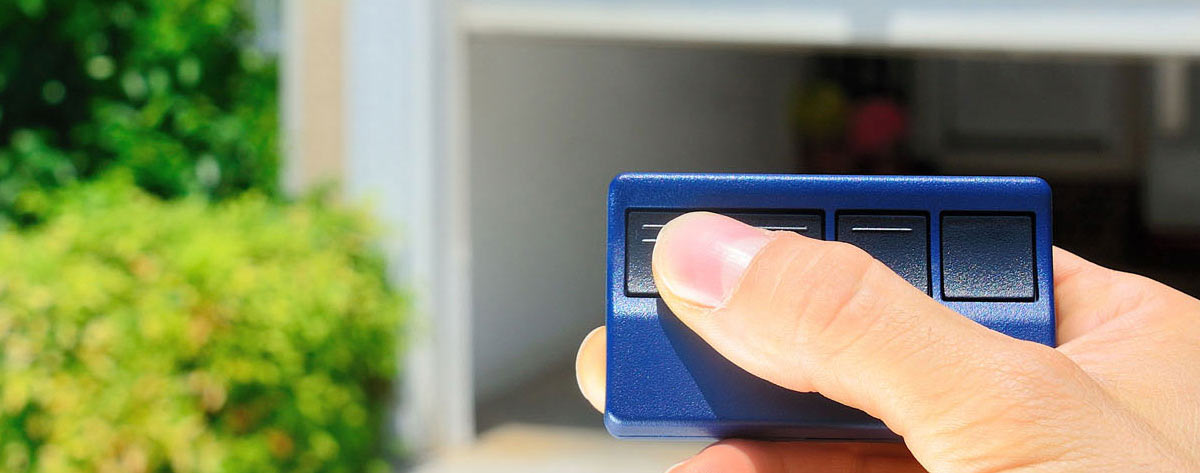
[/su_column] [su_column size=”1/2″ center=”no” class=””]
Until you’ve programmed a new door opener to function with the remote, don’t expect much to happen. You can program it following opener installation by following the instruction manual provided. If you’re still experiencing issues following successful remote programming, the first thing you should do is check whether or not the batteries are still in working order – as most times, changing them will be the fix required.
If you have a wall-mounted garage door opener model, be sure to check the lock switch. If it happens to be on, the remote won’t work correctly, and so you’ll need to turn that off.
[/su_column] [/su_row]
LiftMaster Error Codes
For every LiftMaster garage door opener not working problem, there are a series of diagnostic indicators and error codes that should help you accurately assess the issue at hand and work towards a solution. The table below illustrates some of the most common:
[su_table]
| UP | DOWN | SYMPTOM | CAUSE | RESOLUTION |
| 1 flash | 1 flash | The garage door opener will not close and the light(s) will flash | The safety sensors are not installed, connected, or the wires may be cut | Inspect the sensor wires for a disconnected or cut wire(s). If the sending sensor with the amber LED remains unlit, check the wire and connections for that sensor. If the sending sensor LED is lit, check the wire connections leading to the receiving sensor (green LED). Reattach or replace the wire (22-gauge wire) as needed. If pre-wired home, check the splices. Close the garage door using the remote control or the door control to test. |
| 1 flash | 2 flashes | The garage door opener will not close and the light(s) will flash | The safety sensor wires have shorted or reversed | Inspect sensor wire for incorrect wiring or a pinch. If the sending sensor (amber LED) is not lit, check the wire leading to and from that sensor. Check staple points. If the sending sensor LED is lit, check the wire leading to the receiving sensor (green LED). Reattach wire or replace wire (22-gauge wire) as needed. If pre-wired home, check the splices. Close the garage door using the remote control or the door control. |
| 1 flash | 3 flashes | Wall-mounted door control will not function | The wires for the door control have shorted or the door control is faulty | Inspect door control wires for a short (staple in wire), replace wire (22-gauge wire) as needed. After installing new door control wires, if door control still does not operate the garage door opener, replace the door control. |
| 1 flash | 4 flashes | The garage door opener will not close the door and the light(s) flash | Misaligned or obstructed safety sensors | Realign the receiving sensor (green LED) by ensuring the LED is steady and not flickering. A flicker of the safety sensor LED indicates a misalignment. Make sure nothing is hanging or mounted on the door interrupting the sensor’s path while closing. Close the garage door using the remote control or the door control. |
| 1 flash | 5 flashes | The garage door opener clicks but no movement | There is a bad logic board | Replace the logic board. |
[/su_table]
As a top-rated garage door repair and installation service with years of experience servicing clients across Toronto and the GTA, First Responders Inc. should be your go-to provider for LiftMaster garage door opener problems. Same-day service, 24/7 support, and affordable prices are just a few of the ways we work to ensure that you receive the best service possible. Contact our team today to learn more.